For many organisations, installing an AED is something they only do once. That means the process can feel a bit unknown. What actually happens on the day? What do installers look for? And what do you need to prepare?
This walkthrough breaks down the typical SafePulse installation process so you know exactly what to expect. Everything here is based on publicly available guidance, manufacturer instructions, and standard industry practice.
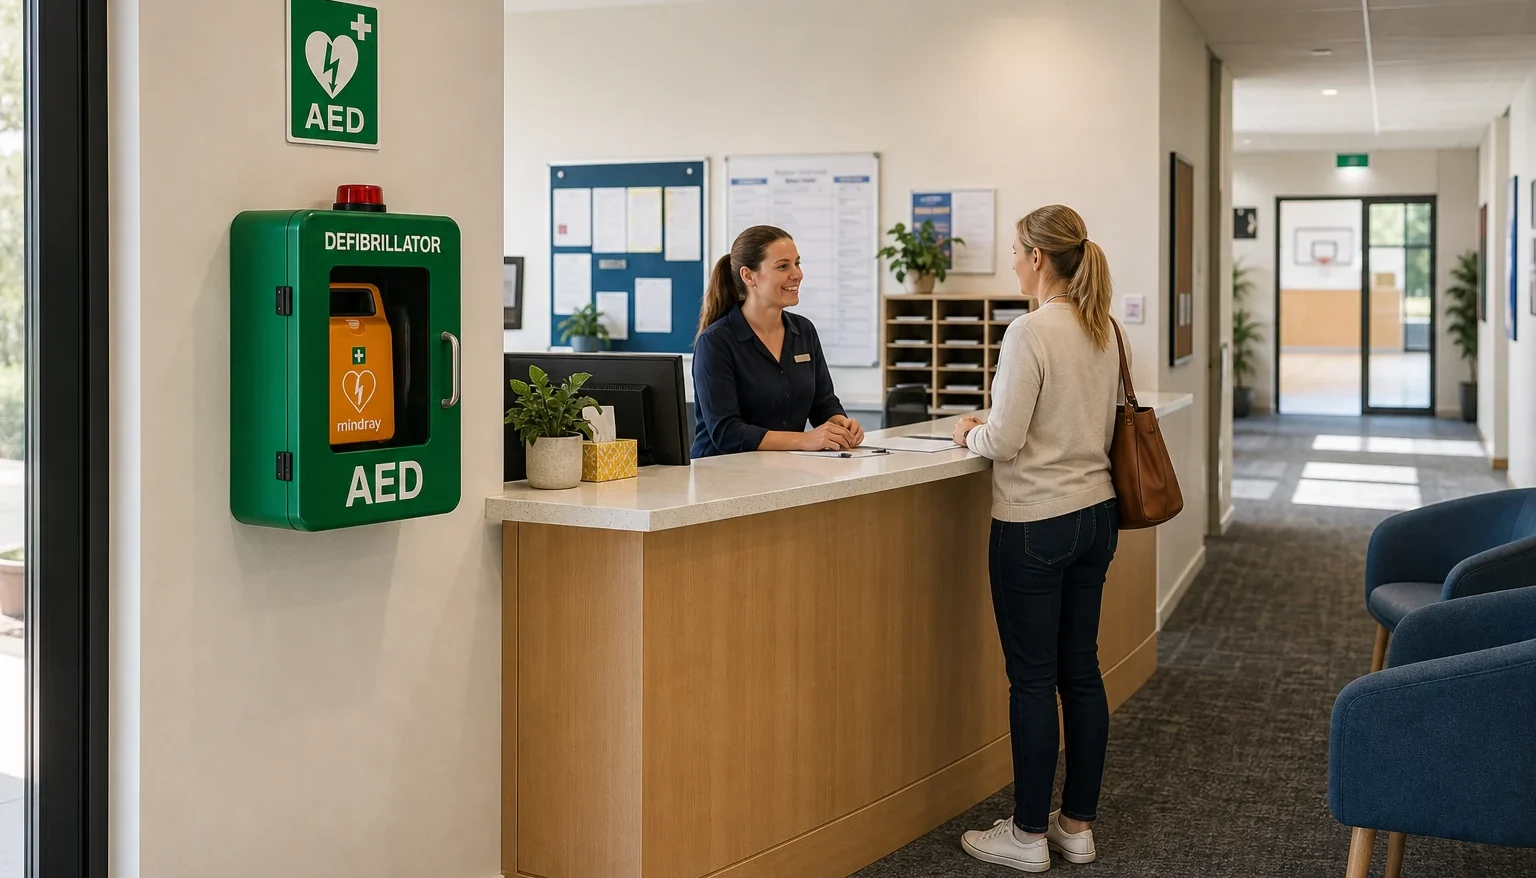
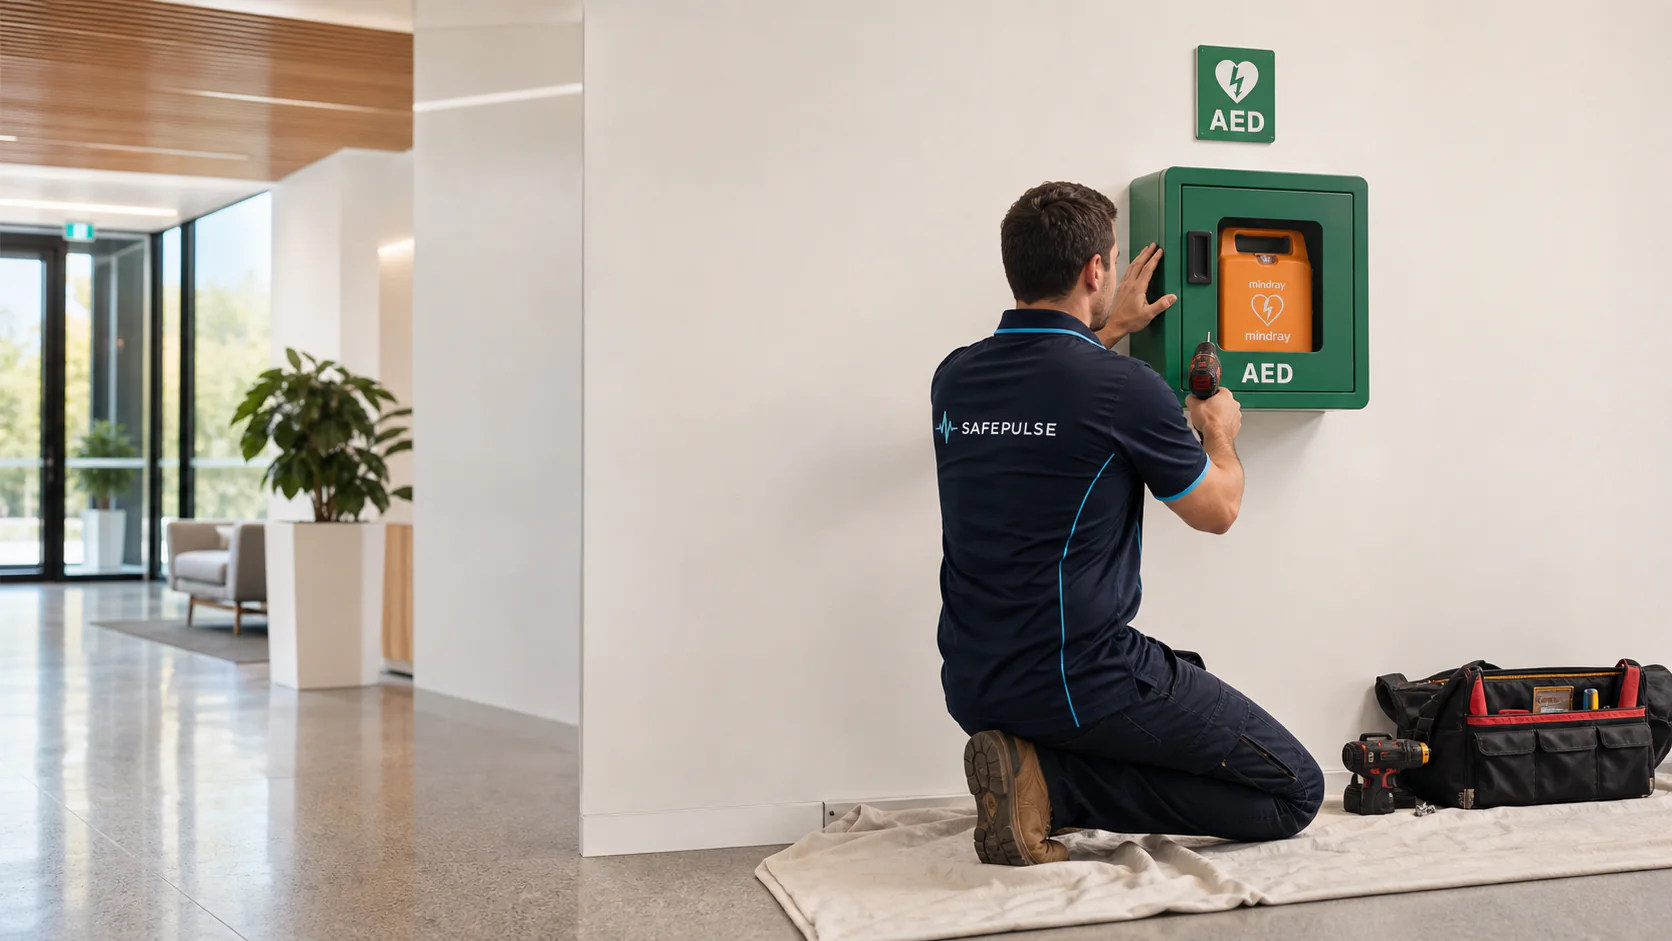
1. Arrival and Site Check
When the technician arrives, the first step is a quick walk-through to confirm the proposed location. They will check things like:
- Visibility from common walkways
- No obstructions or hazards
- Appropriate wall type
- Suitable height for the cabinet
- Access during emergencies
If the building layout has changed since your initial enquiry, the location may be adjusted so the AED is placed in the most practical and accessible spot.
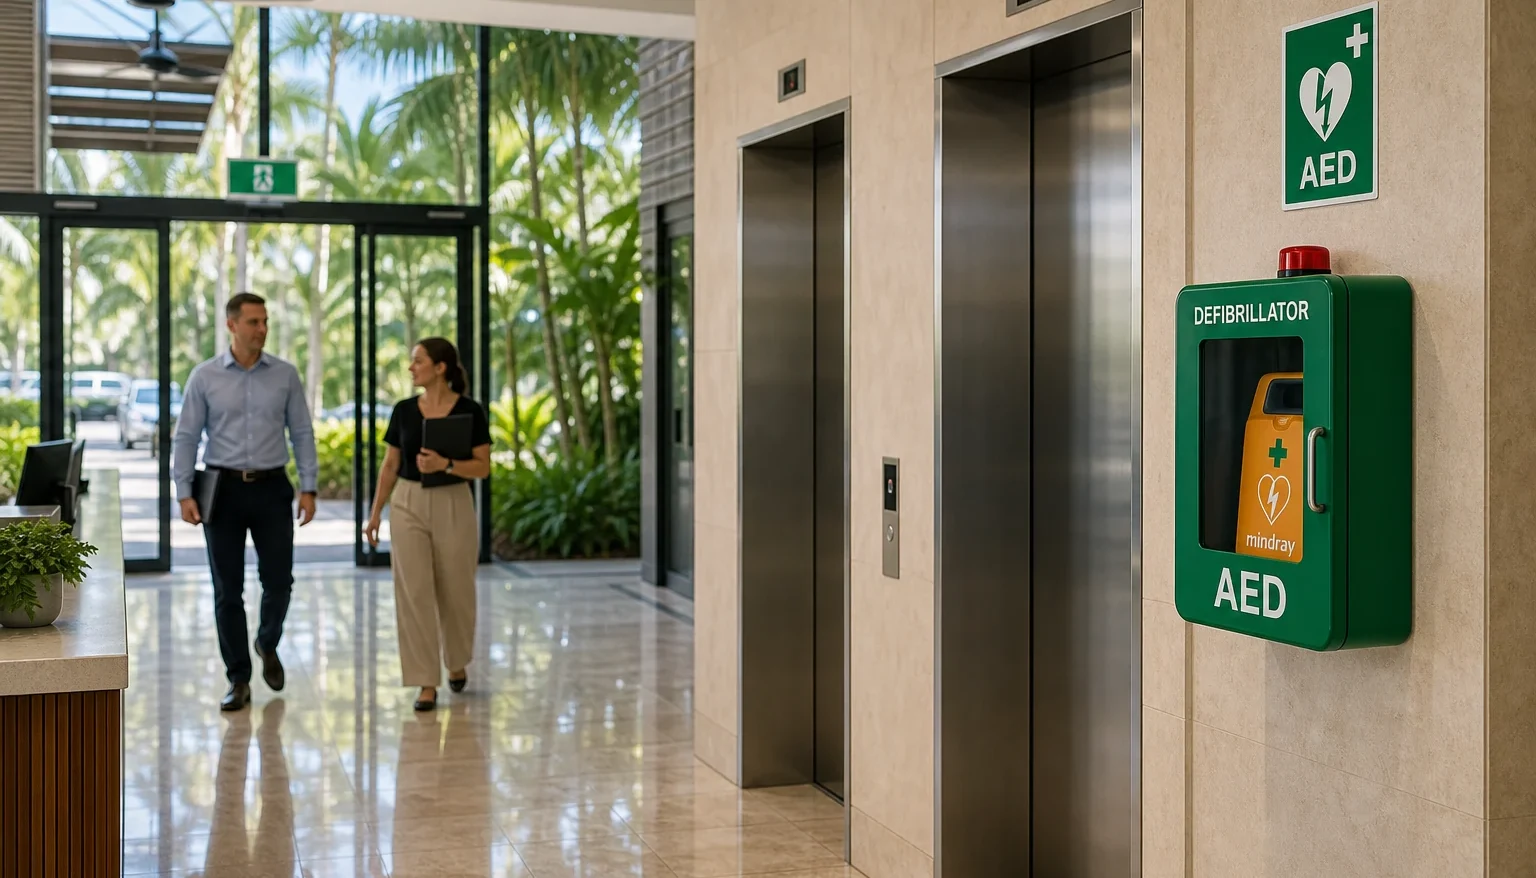
2. Cabinet Positioning and Marking
Once the placement is confirmed, the technician measures and marks the mounting points. This ensures the cabinet sits level and securely, and that the AED can be accessed quickly without any mechanical issues.
For external installations, weather protection and lockable cabinet options may also be discussed before work begins.
3. Mounting the Cabinet
The cabinet is then fixed to the wall using appropriate anchors based on the surface. This may include plasterboard, brick, concrete or metal.
A typical install includes:
- Securely mounting the cabinet
- Fitting tamper seals if applicable
- Adding required signage
- Confirming door access is smooth
Most installs take only fifteen to thirty minutes once marking is complete.
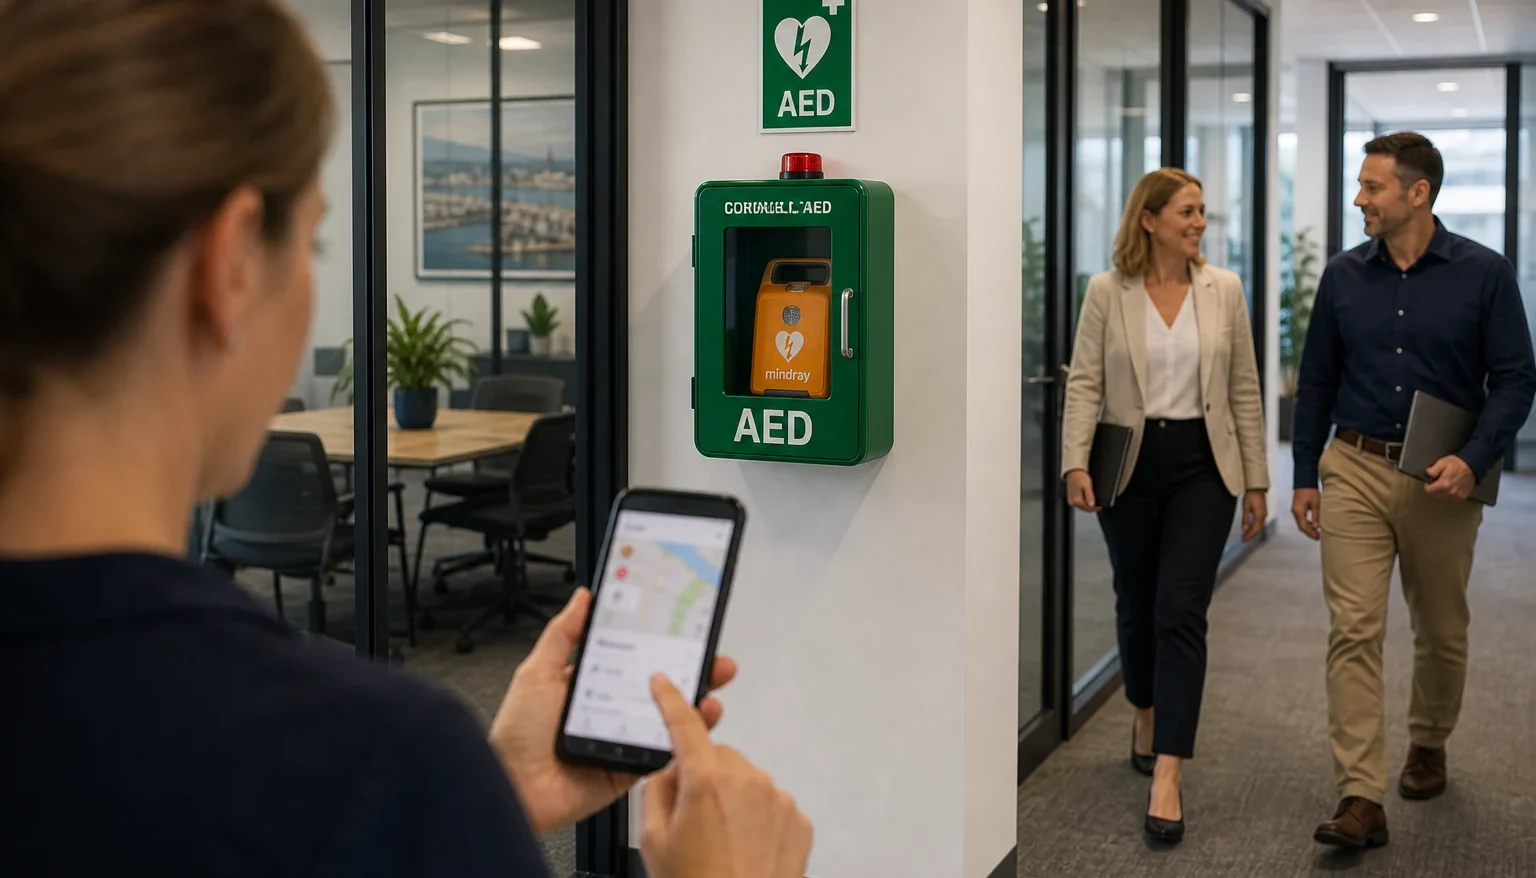
4. Preparing the AED and Documentation
The technician places the AED inside the cabinet, checks expiry dates, and ensures the unit is ready for use.
They will also:
- Confirm the status indicator
- Register the AED with the SA Ambulance Service registry
- Record serial numbers and expiry dates
- Provide guidance on basic upkeep
This helps create a clean baseline for future maintenance and tracking.
5. Final Walk-through and Handover
Before leaving, the technician provides a quick overview of how the AED is accessed and how the cabinet works. They will highlight simple things the site should keep an eye on between maintenance visits, like visibility or obstruction risks.
If the organisation has multiple units, the technician will confirm the placement of each and ensure everything is consistent with best practice.
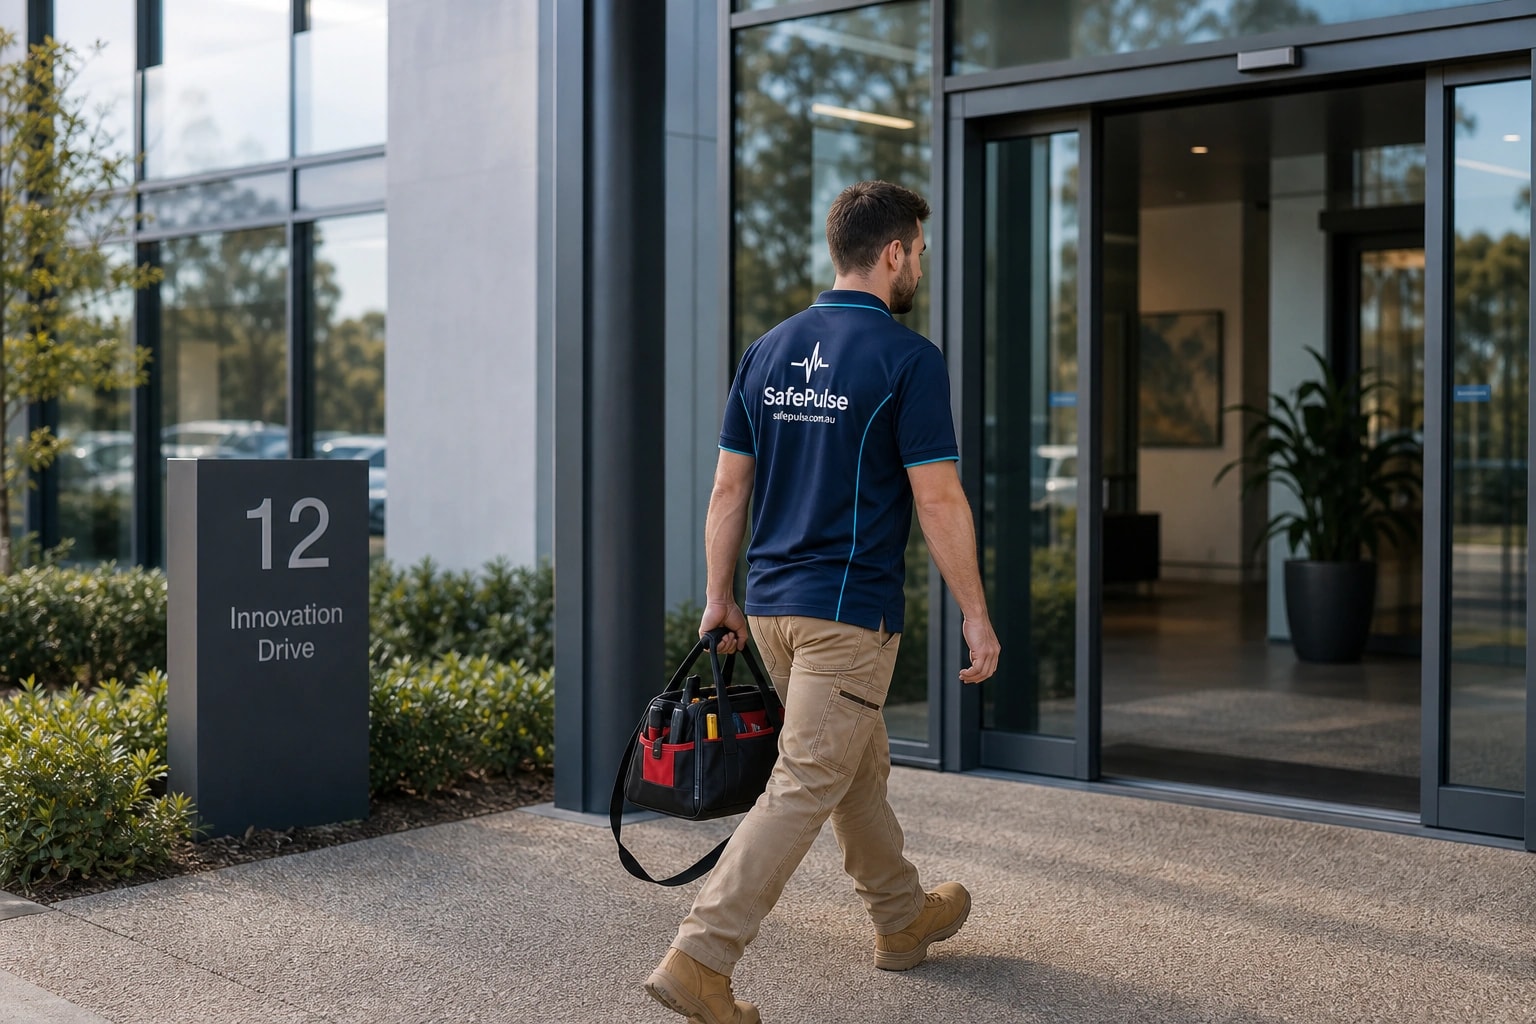
6. What Happens After Installation
After installation is complete, sites with a maintenance plan receive ongoing support. This generally includes:
- Six-monthly inspections
- Replacement of expired pads or batteries
- Status checks
- Updated compliance documentation
If the AED is ever used in an emergency, SafePulse will inspect the unit and replace consumables. A small call-out fee may apply.
A Simple and Straightforward Process
Getting an AED installed is usually fast, tidy and low disruption. Most organisations are surprised by how smooth the process is. With the right setup and ongoing maintenance, you can be confident your AED is visible, accessible and ready when needed.
If you would like a technician to assess your building or recommend a placement, you can contact SafePulse through our website and upload your floorplan for review.